
The Gaultree Deception
Henry IV, Part 2This thread traces how the two sides move from armed confrontation to an apparent settlement that ends in the rebels' capture.
increasing Bearing strength in each event
 decreasing
Bearing strength in each eventdecreasingForces Draw Near
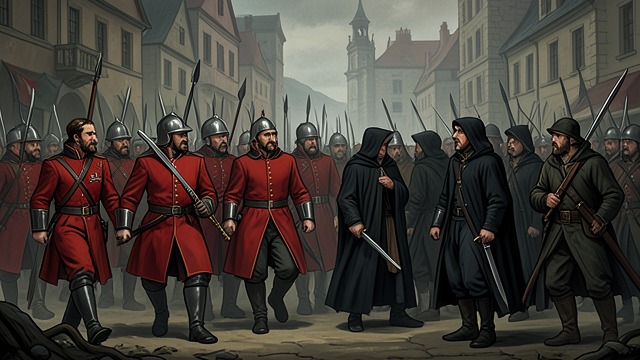
A Confrontation Expected
The Royal Army Advances
The Archbishop's scouts report a large royal force approaching. The number is close to what the rebel leaders expected, encouraging them to consider meeting it directly.
Confidence Under Strain
Northumberland's absence has already weakened the faction. The approaching army forces its leaders to decide whether to fight, bargain, or risk losing control of their own cause.
Westmoreland's Challenge
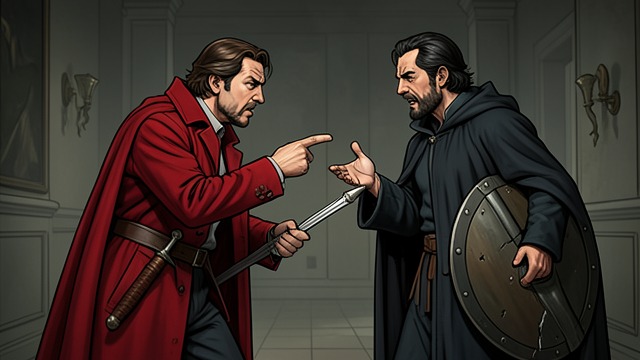
Authority Questioned
The Royal Argument
Westmoreland challenges the Archbishop's decision to lead an armed rising. He argues that religious office and a reputation for peace make the Archbishop's military role especially troubling.
A Dispute Over Grievance
The Archbishop responds that the king has denied access to those who might present their complaints. The exchange makes clear that the conflict concerns both political injuries and the legitimacy of armed remedies.
The Articles Discussed
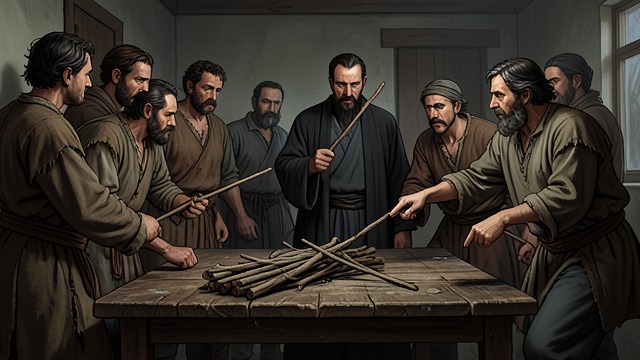
Complaints Put in Writing
The Rebels' Conditions
The Archbishop presents the Rebels' articles of grievance and says that redress would allow the faction to return to peaceful obedience. The document makes a settlement seem achievable.
Lancaster's Decision
John of Lancaster says he accepts the articles and gives his word that the grievances will be addressed. His promise changes the leaders' calculation from battlefield survival to negotiated relief.
The Dispersal Begins

Arms Laid Aside
News of Agreement
The leaders permit their troops to hear that peace has been made and allow the soldiers to return home. Their army quickly disperses in several directions.
A Shift in Leverage
Once the followers are gone, the leaders have lost the force that made their negotiation consequential. The apparently peaceful moment becomes a decisive change in military power.
The Arrests Follow
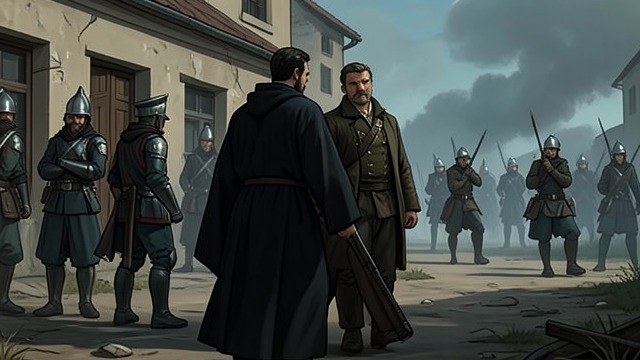
The Settlement Breaks
Charges of Treason
Westmoreland arrests Hastings, the Archbishop, and Mowbray. They object that the royal side has violated the agreement, while Lancaster insists he promised redress rather than pardon.
Victory Through Division
The crown secures the leaders after their force has dissolved. The encounter demonstrates how negotiation, when backed by superior power and not mutual trust, can complete a military victory without a general battle.
As both armies arrive near Gaultree Forest
At the first meeting between the armies
During the parley before the armies
After the apparent peace is announced
As the remaining leaders discover the betrayal
