Rescuing Mrs. Stapleton and discovering the hound's lair
The Hound of the BaskervillesRescuing Beryl Stapleton and discovering the hound’s lair is the final investigative turn in which the search for a fleeing criminal becomes a rescue, and a hidden room and a dangerous route through the mire yield material evidence of Stapleton’s methods. Sherlock Holmes, Dr. Watson, and Inspector Lestrade find Beryl bound in her husband’s house; she then identifies the island refuge where he kept the hound. Fog prevents an immediate pursuit, but the next morning she guides the investigators toward the mine and its traces. The episode uncovers the hound’s place in Stapleton’s scheme while leaving his own fate beyond direct proof.
The Search at Stapleton’s House
The party arrives with Stapleton apparently ahead of them and the house’s front door open. They rush from room to room, startling an old manservant; the house is dark except for the dining room, so Sherlock Holmes takes up a lamp and searches it from one end to the other. The apparent absence of the man they seek sharpens the urgency, but an upstairs bedroom door is locked. From behind it come faint sounds of movement and moaning. At Inspector Lestrade’s call, Sherlock Holmes strikes the door above the lock with his foot, forcing it open, and the three men enter with pistols ready.
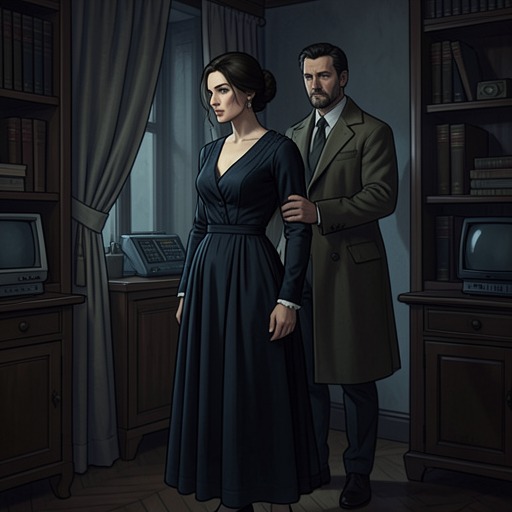
The scene overturns their expectation of finding a defiant fugitive. The room is arranged as a small museum, with glass-topped cases displaying Stapleton’s collection of butterflies and moths. At its centre, a figure is tied to an upright beam supporting an old timber across the roof. Sheets and towels muffle and bind the captive so thoroughly that the rescuers cannot initially tell whether the figure is a man or a woman. They remove the gag and bindings, revealing Beryl Stapleton. A red weal marks her neck, and she faints from ill-usage and exhaustion. Sherlock Holmes calls for brandy and has her placed in a chair. The collection, ordinarily evidence of Stapleton’s private interests, stands around this act of violence as an incongruous domestic backdrop to his concealment and control.
Beryl Stapleton’s Account
When Beryl regains consciousness, her first concern is whether Stapleton is safe and whether he has escaped. Once she learns that the hound is dead, she expresses relief and shows the bruises on her arms. She describes not only physical ill-treatment but also a longer deception: she had endured solitude and a life of deception while hoping she still possessed Stapleton’s love, only to understand that he had made her his dupe and tool. Sherlock Holmes asks her to help locate him, framing cooperation as a way to atone if she has aided his crimes.
Her answer supplies the decisive lead. She says Stapleton could have fled to only one place: an old tin mine on an island in the heart of the mire, where he kept the hound and had prepared a refuge for himself. Beryl knows the way because she and Stapleton planted the guiding wands that mark the safe route through the bog. She adds that she wished she had removed them that day: without the markers, he might have been trapped beyond their reach. Her knowledge transforms the apparent blankness of the landscape into a concealed route, but it cannot make that route safe in the fog.
Fog, Delay, and the Search Through the Mire
Looking out at the fog-bank, Sherlock Holmes recognizes that nobody could find a way into Grimpen Mire that night. Beryl understands the danger differently: Stapleton might get in, but he could not get out without seeing the wands. The investigators therefore abandon immediate pursuit. Inspector Lestrade remains at the house, while Sherlock Holmes and Dr. Watson return with Sir Henry Baskerville to Baskerville Hall. They can no longer withhold the truth about the Stapletons from him. He bears the news about the woman he loved bravely, but the night’s shock leaves him delirious with a high fever before morning, under Dr. Mortimer’s care. Later, he and Dr. Mortimer travel around the world before Sir Henry recovers his former health.
The next morning, after the fog has lifted, Beryl leads the investigators to the beginning of the path. Her eagerness to put them on her husband’s track conveys how completely her allegiance has changed. The route runs from a thin peninsula of firm peat, marked by small wands, and zigzags between tufts of rushes through green-scummed pools and quagmires. The searchers sink thigh-deep in the mire; when Sherlock Holmes steps off the path to seize an object, he sinks to his waist and has to be pulled back to firm ground. The object is an old black boot marked “Meyers, Toronto,” identified as Sir Henry Baskerville’s missing boot. Sherlock Holmes reasons that Stapleton had held it after using it to set the hound on Sir Henry’s track, and threw it away as he fled. It places Stapleton at least that far along the route, but the mire’s shifting mud has erased any further trail.
The Mine and the Hound’s Concealment
Although they cannot follow Stapleton’s footprints, the investigators find substantial evidence on the bog-girt island. A huge driving wheel and a shaft partly filled with rubbish establish the position of the abandoned tin mine; the crumbling miners’ cottages nearby suggest how thoroughly the swamp had emptied the place. In one cottage, a staple and chain, together with gnawed bones, show where the hound was confined. Among the debris lies a skeleton with brown hair still tangled on it. Sherlock Holmes identifies it as a curly-haired spaniel and recognizes the likely remains of Dr. Mortimer’s missing pet.
The island’s remains clarify how Stapleton kept the animal hidden and why concealment was imperfect. Sherlock Holmes explains that Stapleton could house the hound in an outhouse at Merripit House in an emergency, but doing so carried risk; only on the decisive night had he dared bring it there. The animal could be hidden, but not silenced, accounting for cries heard even in daylight. A tin containing paste supplies another physical clue: Sherlock Holmes identifies it as the luminous mixture smeared on the hound. The device drew on the family hell-hound legend, turning phosphorus into an apparent supernatural glow. Its purpose was to terrify victims, while the legend discouraged people who glimpsed the creature from investigating it closely. The same engineered apparition that helped drive victims into panic had also frightened the escaped convict, the very danger the investigators had been trying to understand.
Stapleton’s Disappearance and the Event’s Resolution
The trail offers a limit as well as a solution. The boot proves that Stapleton reached a point on the path in apparent safety, but no footsteps survive beyond it. Once the party reaches firmer ground past the morass, they find no sign of him. The evidence supports the conclusion that he never reached the island refuge and was swallowed somewhere in Grimpen Mire, but the searchers cannot establish his precise last movements or recover him. His flight ends not in a witnessed arrest or death scene but in a landscape that erases its own tracks.
The rescue and the search thus resolve different parts of the mystery. Beryl’s freedom makes possible the revelation of the route and the hound’s hiding place; the mine, chain, bones, spaniel skeleton, and luminous paste corroborate the explanation in physical objects. Yet the fog’s earlier obstruction and the mire’s consuming mud preserve uncertainty about Stapleton himself. The hound’s death ends the immediate threat, while Sir Henry’s fever and prolonged recovery register the cost of the ordeal. What had seemed a curse is exposed as a deliberate, materially prepared deception, even as the swamp keeps its final human victim beyond proof.