Sir Henry's illness and recovery after the shock
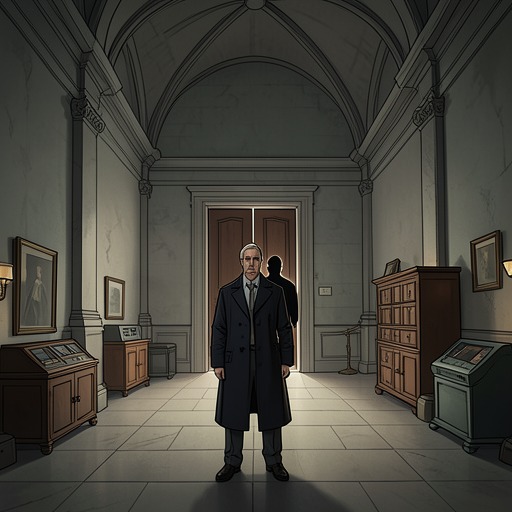
The Hound of the BaskervillesSir Henry Baskerville's illness and recovery mark the bodily and emotional cost of the ordeal at Baskerville Hall: after the hound's death and the revelation of Stapleton's deception, a shock shatters his nerves and leaves him delirious with a high fever. Dr. Mortimer tends him, and a long journey around the world precedes his return to the hale, hearty condition he had before becoming master of the estate.
Resolve Before the Ordeal
Sir Henry enters the danger with a pronounced determination to act for himself. When Sherlock Holmes asks whether the threat comes from the family legend or from human beings, Sir Henry insists that neither supernatural nor human danger will keep him from his ancestral home. He asks for time alone to consider the information, then invites Holmes and Dr. Watson to lunch so that he can decide what to do. This is not indifference to risk: he acknowledges that the matter is substantial, but he will make the decision himself.
That resolve also shapes his acceptance of Dr. Watson as a companion. When Holmes proposes that Dr. Watson accompany him to Baskerville Hall, Sir Henry takes the doctor by the hand and asks him to see him through the danger. The moment establishes a source of support, but it does not make Sir Henry willing to be continually guarded. Later, despite Holmes's instructions that he should not go out alone upon the moor, he tells Dr. Watson that circumstances have changed and leaves before Watson can stop him. His insistence on independence therefore becomes part of the pattern leading toward the ordeal: courage and self-direction coexist with exposure to risks he cannot fully assess.
Emotional Strain and Concealed Danger
Before the final crisis, Sir Henry is already under considerable emotional pressure. He is distressed by Stapleton's interference with his courtship of Beryl and questions whether anything about him makes him unfit to be a husband. Stapleton later offers an apology and explains his opposition as fear of losing the sister who has been his lifelong companion. He asks Sir Henry to put the matter aside for three months and cultivate Beryl's friendship without claiming her love; Sir Henry agrees. The explanation appears to settle the immediate dispute, but the underlying deception remains hidden, leaving Sir Henry emotionally invested in a relationship whose real circumstances he does not know.
Sherlock Holmes also keeps a crucial danger from him. After Selden's death, Holmes tells Dr. Watson not to disclose the hound to Sir Henry, allowing him to believe the convict's death happened as Stapleton would have them believe. Holmes wants Sir Henry to have a steadier nerve for the dinner at Merripit House the following day, when he is to go there alone. The concealment is tactical: Holmes believes he needs Sir Henry exposed as bait to complete the case, but the information withheld also leaves him unprepared for the hound's appearance. Holmes later acknowledges that the plan subjected their client to a severe shock and that he had not foreseen either the beast's paralyzing effect or the fog that allowed it to attack at short notice.
Collapse and Care
After the hound's death, Holmes and Dr. Watson return with Sir Henry to Baskerville Hall. They can no longer withhold the story of the Stapletons, and Sir Henry bears the blow bravely when he learns the truth about the woman he loved. Yet the night's adventures have already shattered his nerves. Before morning, he is delirious with a high fever and is placed under Dr. Mortimer's care. The narrative presents this illness as an immediate consequence of the shock and strain of the ordeal, not as a lasting condition.
Holmes later describes the outcome as a severe but temporary injury. Both the specialist and Dr. Mortimer assure him that Sir Henry's condition will pass, and Holmes hopes that a long journey will help restore him. He also recognizes that recovery must encompass more than physical health: Sir Henry's love was deep and sincere, and learning that he had been deceived leaves him with wounded feelings as well as shattered nerves.
Recovery and Aftermath
Sir Henry and Dr. Mortimer are destined to travel together around the world before Sir Henry becomes once more the hale, hearty man he was before taking possession of the ill-omened estate. The journey gives the account a measured aftermath: the immediate fever is treated, but a return to health takes time and follows removal from the place where the danger and deception converged. His recovery restores his former vigor, while the account makes clear that the experience has exacted a real cost.
The illness also complicates the apparent triumph of Holmes's investigation. Holmes and his companions expose the crime and survive the encounter, but the method of securing proof uses Sir Henry's danger as part of the trap. Holmes explicitly calls the severe shock a reproach to his management of the case. Sir Henry's recovery closes that immediate consequence, without erasing either the risk to which he was deliberately exposed or the emotional injury of discovering that the woman he loved had deceived him.