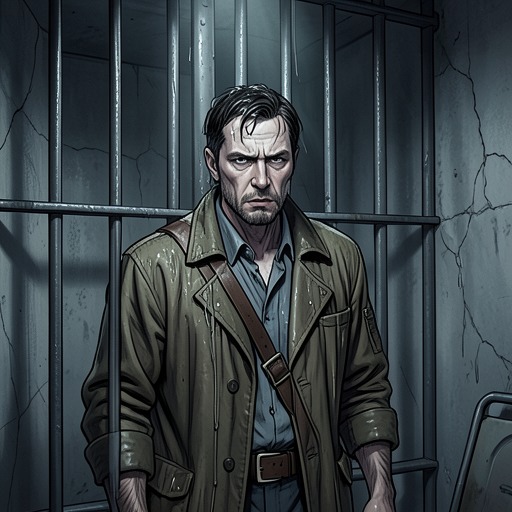
Narrator discovers Charlie Cavendish murdered and flees
The IPCRESS FileThe Unnamed narrator discovers Charlie Cavendish murdered and flees after finding him dead in a thoroughly ransacked flat. The discovery turns a visit meant to return a key into an immediate flight: a woman remains at the scene, the police will take her account, and the narrator believes the killer may also be after him. His escape begins with a deliberate attempt to break any pursuit and continues using Charlie’s identity documents, leaving the narrator exposed to suspicion even as he tries to get clear.
The visit and the discovery
Earlier that afternoon, the Unnamed narrator had decided to hire a private detective rather than involve Charlie in a difficult domestic situation. He had planned to return to Charlie’s Bloomsbury flat before Charlie left for his part-time barman’s job at the Tin-Tack Club and give him his key. The visit therefore begins as a practical errand, made after a conscious choice to keep Charlie out of another matter; nothing in that plan anticipates the scene upstairs.
The narrator arrives at 5:10 and lets himself in. Dim light through the green glass on the back stairs gives the ascent a strangely enclosed quality. Near the top of the first flight, he hears a woman sobbing. He recognizes, even as he continues upward, that he ought to turn around and leave, but goes on toward the sound. That hesitation is the scene’s first decisive turn: he enters a place where his presence will soon have to be explained.
The flat is in disorder, its clothes, books, and broken crockery scattered. On the landing, among domestic appliances, lies Charlie’s body. In the living room, books have been pulled from shelves and left open on the floor; a white coffee-pot is smashed, with coffee underfoot. Records, letters, flowers, brass ornaments, and a small leather-cased carriage clock have also been swept from the writing cabinet. The sweep of disturbance makes the flat look less like a quiet home than a place searched or overturned, although the narrator does not establish who caused it or why.
The witness and the flight
The disorder has one striking exception: a photograph of Reg Cavendish remains on the writing cabinet after the other objects have been cleared away. The narrator takes Charlie’s wallet, intending it to provide the police with a motive. As he straightens, he sees a young woman in the flat. He and the woman look at one another for about a minute; he wants her to understand that he did not kill Charlie, but cannot find a way to begin. Instead, he hurries downstairs. The encounter leaves him as a potential suspect in the eyes of the surviving witness, while the wallet-taking risks making his own conduct harder to interpret.
The narrator reasons that whoever killed Charlie was still after him and that the police would seek him once they had taken a description from the woman. He does not know that either pursuit has begun. His certainty is enough to set the escape in motion, however, and he concludes that Dalby’s organization is the only contact with the power to help him. Fear of the killer and fear of the police therefore converge: remaining at the flat would mean exposure to both.
At Cambridge Circus he boards a passing bus, gets off at Piccadilly, takes a cab to the Ritz, and then walks east. The route is designed to frustrate anyone following by car: a pursuing vehicle would have had to make an illegal right turn and attract attention. To reduce the chance that someone had managed it, he takes another cab on the far side of the road, outside Whites, and travels in the opposite direction to any possible pursuer. By 5:25 he has reached a car-hire company in Knightsbridge.
Borrowed identity and uncertain pursuit
The narrator hires a blue Austin 7, the only available car equipped with a radio. He uses Charlie’s driving licence and envelopes from Charlie’s wallet as proof of identity. The choice gives him immediate mobility but also binds his escape to the dead man’s name. He regrets not taking a driving licence from the safe deposit, and recognizes the risk that Charlie’s death might reach the press before the intelligence departments have had a chance to investigate. The documents solve one problem at the counter while deepening the danger that the narrator will be connected to the murder.
He listens to the six o’clock news despite that risk. The reports concern Algeria and another dock strike; no murder is mentioned. The absence of news offers no assurance that he has escaped notice, but it temporarily leaves him without public confirmation that Charlie’s death has been reported. He drives through Putney and along the common, moving away from the city and from the flat where the woman saw him. The sequence ends with flight rather than explanation: Charlie’s death remains unresolved, the narrator has not cleared himself, and his first attempt to survive depends on evasion and borrowed identity.
Narrative significance
The episode changes the narrator’s position from a visitor trying to keep Charlie outside a personal difficulty into a fugitive who has been present at Charlie’s death and has taken his wallet. The two actions that make escape possible—leaving quickly and using Charlie’s papers—also create evidence that could implicate him. The woman’s presence sharpens that contradiction: she is a witness to his arrival and departure, but the narrator leaves without establishing what she saw or what she will say.
The scene also makes domestic objects carry the investigation’s uncertainty. The scattered books, broken coffee-pot, and cleared cabinet record disturbance without identifying its cause; Reg Cavendish’s surviving photograph is a lone exception, not an explanation. The narrator responds not by examining the scene or waiting for the police, but by turning to Dalby’s organization and constructing a route that resists surveillance. The murder thus functions as both a personal loss and a sudden operational crisis, propelling the narrator into flight while leaving the central questions of motive and responsibility open.