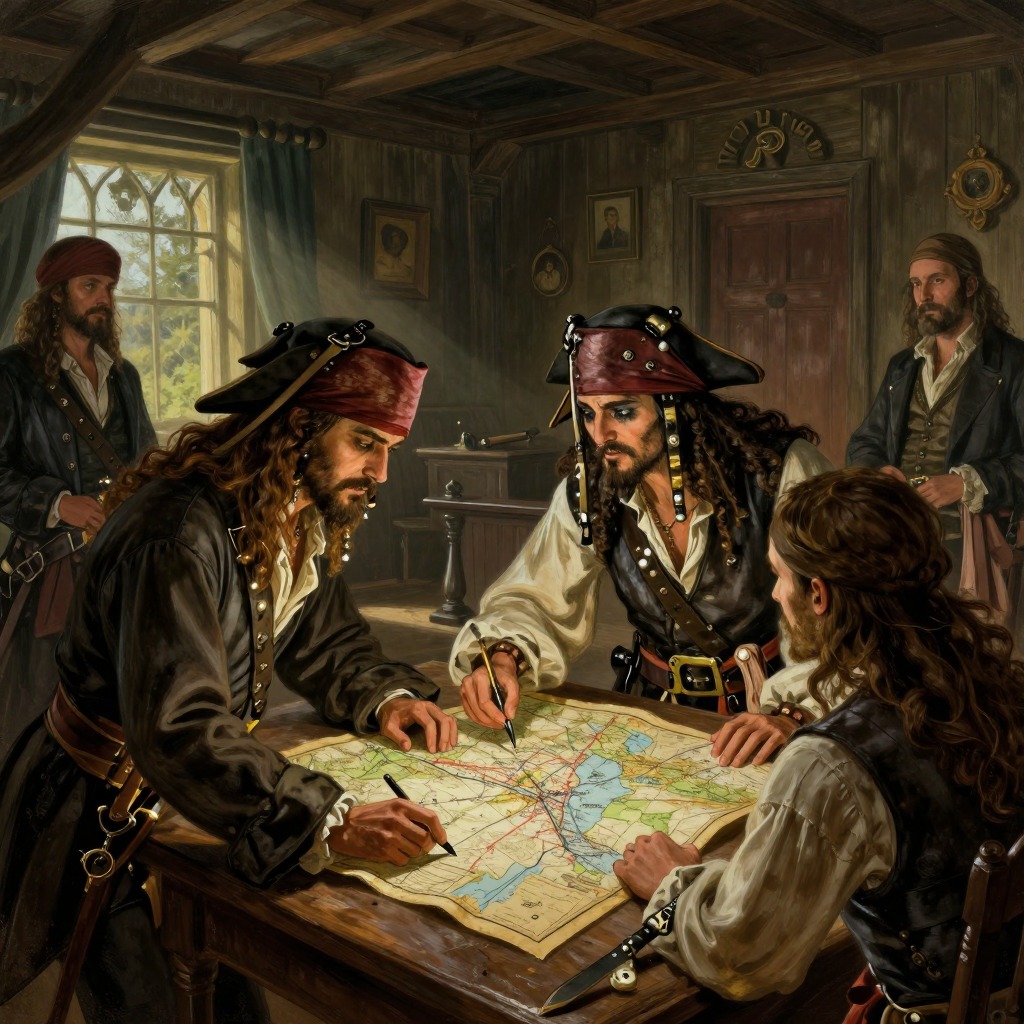
Discovery of the treasure map
Treasure IslandThe discovery of the treasure map is the hinge on which the entire narrative of Treasure Island turns. What begins as a frightened widow and her son rifling through a dead man's sea-chest in a lonely inn becomes, within days, the occasion for a full-scale expedition to a remote island, the recruitment of a crew that secretly harbors pirates, and a violent struggle over buried gold. The map itself, drawn by the notorious Captain Flint, is the material object that converts the vague menace of Billy Bones's old shipmates into a concrete, irresistible prize, and its discovery sets the terms for every subsequent conflict in the book.
The Opening of the Sea-Chest
The discovery occurs in two stages, the first of which is the desperate opening of Billy Bones's sea-chest. After the captain is struck dead by apoplexy in the parlour of the Admiral Benbow Inn, Jim Hawkins and his mother resolve to recover the money owed to them for his long stay. Despite the terror of the blind beggar Pew and his gang, they return to the inn, and Jim, overcoming his repugnance, finds the key hanging on a tarry string around the dead man's neck. The chest itself is unremarkable—like any other seaman's chest, with the initial 'B' burned on the top and corners smashed by rough usage—but its contents are extraordinary. On top lies a suit of good clothes, never worn, and beneath it a miscellany: a quadrant, a tin canikin, sticks of tobacco, two brace of handsome pistols, a piece of bar silver, an old Spanish watch, brass compasses, and five or six curious West Indian shells. Jim later wonders why the captain carried these shells through his wandering, guilty, and hunted life. At the bottom, under an old boat-cloak whitened with sea-salt, lie the last two items: a canvas bag that jingles with gold and a bundle tied up in oilcloth, looking like papers.
The Oilskin Packet and the Map
The second stage of the discovery takes place at Dr. Livesey's house, where Jim delivers the oilskin packet after the night's harrowing events. The doctor, the squire, and Jim gather around a table in the great library, and the doctor, using his medical scissors, cuts the stitches that seal the bundle. Inside are two things: a book and a sealed paper. The book proves to be Billy Bones's account-book, a record of plunder spanning nearly twenty years, with dates, sums of money, and crosses standing for ships or towns that were sunk or plundered, ending with the words 'Bones, his pile.' The paper, sealed with a thimble, contains the map of an island. It is about nine miles long and five across, shaped like a fat dragon standing up, with two fine land-locked harbours and a hill in the centre marked 'The Spy-glass.' Three crosses of red ink mark the island—two on the north part, one in the southwest—and beside the last, in a small, neat hand, are the words 'Bulk of treasure here.' On the back, the same hand has written further instructions: 'Tall tree, Spy-glass shoulder, bearing a point to the N. of N.N.E.,' 'Skeleton Island E.S.E. and by E.,' 'Ten feet,' and notes about the bar silver in the north cache and the arms in the sand-hill, signed 'J.F.'—the initials of Captain Flint.
The Squire's Reaction and the Decision to Sail
The map's effect on Squire Trelawney is immediate and explosive. He declares that if they have the clue, he will fit out a ship in Bristol dock and take the doctor and Jim along, and he will have the treasure if he searches a year. Dr. Livesey, more cautious, warns that they are not the only men who know of the paper, and that the fellows who attacked the inn are bound to get the money. He insists that they must none of them go alone until they get to sea, and that not one of them must breathe a word of what they have found. The squire, though hot-headed, agrees to be as silent as the grave. This moment of decision, born directly from the map's discovery, sets the course for the entire adventure, leading to the purchase of the Hispaniola, the hiring of Long John Silver as ship's cook, and the fateful voyage to the island.
The Map's Role in the Narrative
The map is not merely a plot device; it is a character in its own right, a source of desire, betrayal, and revelation. Its existence is the reason Billy Bones is hunted by his old shipmates, and its loss is what drives the mutineers to desperate measures. When Captain Smollett learns that the crew knows the island's location, he suspects the secret has been blabbed, and the map becomes a point of contention between the loyal party and the mutineers. Long John Silver, who has his own copy of the chart, is disappointed to find it lacks the red crosses, but he hides his annoyance. The map's final appearance occurs when Silver, deposed by his own crew, produces the original chart to prove his worth, and the mutineers leap upon it 'like cats upon a mouse.' Yet the map ultimately proves useless, for the treasure has already been removed by Ben Gunn, who had found it months before the Hispaniola arrived. The map, which had promised seven hundred thousand pounds, leads only to an empty pit, a broken pick-axe, and the branded name 'WALRUS'—Flint's ship—on a packing-case board. The discovery of the map, so full of promise, ends in anticlimax, but it is the engine that drives the entire story, from the quiet inn to the bloody battles on the island.