Treasure map
Treasure IslandThe treasure map is the engine of Treasure Island's plot, the physical object that converts a dead buccaneer's secret into a voyage of greed, betrayal, and survival. Found among the papers of Billy Bones, the map charts the location of Captain Flint's buried hoard on a remote island, and its journey from a dead man's sea-chest through the hands of the honest party and finally into those of the mutineers structures the entire narrative. More than a simple navigational aid, the map becomes a symbol of desire, a token of power, and a tool of deception, its very existence driving every major action of the story.
Discovery and Description
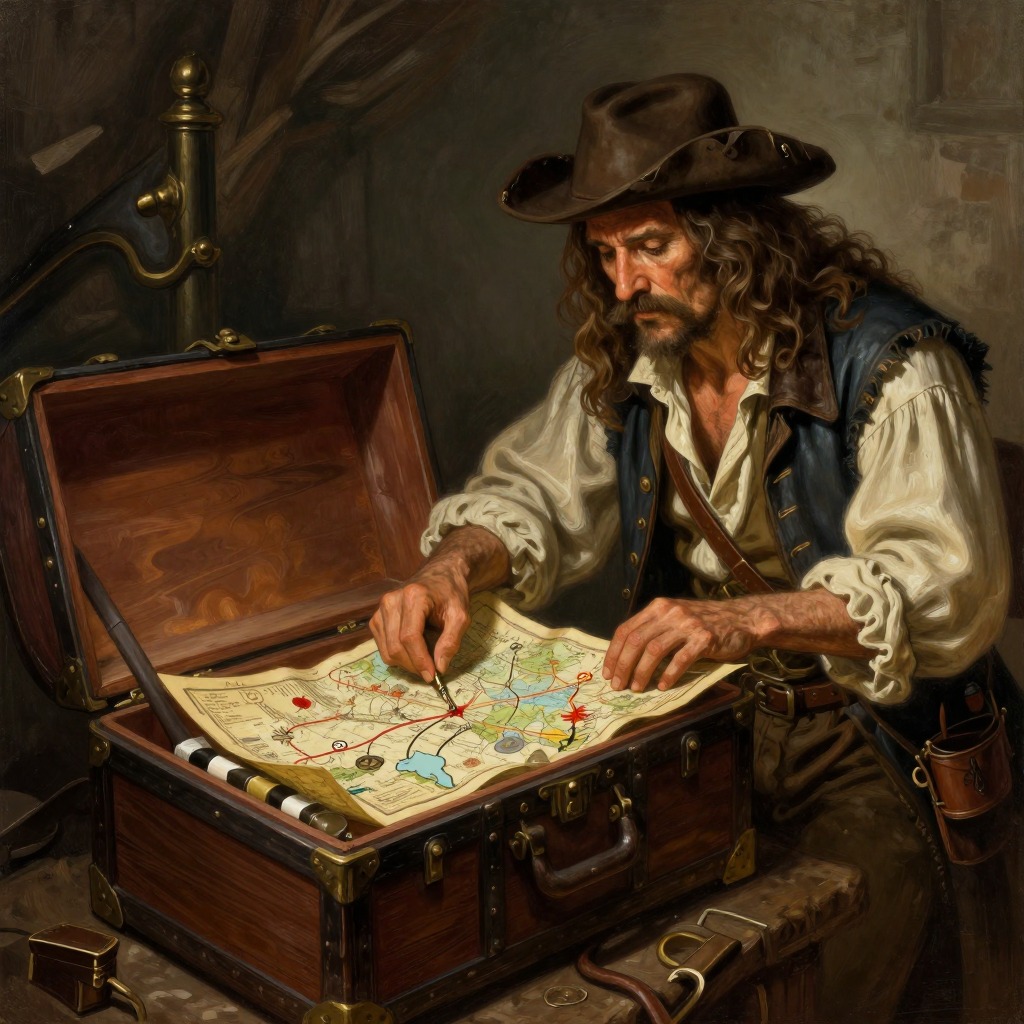
The map first appears in the oilskin packet that Jim Hawkins snatches from Billy Bones's sea-chest on the night of the old buccaneer's death. When Dr. Livesey opens the packet in Squire Trelawney's library, he finds two items: a book and a sealed paper. The paper, opened with great care, reveals a map of an island, complete with latitude and longitude, soundings, and the names of hills, bays, and inlets. The island is described as about nine miles long and five across, shaped like a fat dragon standing up, with two fine land-locked harbours and a central hill marked "The Spy-glass." The most crucial features are three red-ink crosses: two on the north part of the island and one in the southwest. Beside this last cross, in a small, neat hand very different from Billy Bones's tottery characters, are the words "Bulk of treasure here." On the reverse, the same hand provides further instructions: "Tall tree, Spy-glass shoulder, bearing a point to the N. of N.N.E. Skeleton Island E.S.E. and by E. Ten feet." It also notes the location of bar silver in the north cache and the arms in the sand-hill, ending with the initials "J.F." — unmistakably those of Captain Flint himself.
The Map as a Catalyst for Adventure
The effect of the map on its discoverers is immediate and electrifying. Squire Trelawney, upon seeing it, declares he will fit out a ship in Bristol and take Dr. Livesey and Jim Hawkins along to find the treasure. The map transforms the squire from a country gentleman into an admiral of a treasure-hunting expedition, and it is this enthusiasm that leads him to Bristol, where he hires Long John Silver as ship's cook. The map's existence, however, is not kept secret. Captain Smollett, the cautious master of the Hispaniola, complains that the crew knows the ship is sailing for treasure, that the map has been "blabbed" even to the parrot. This leak of information, which the map itself makes possible, creates the conditions for the mutiny that nearly destroys the expedition.
The Map as a Tool of Deception and Power
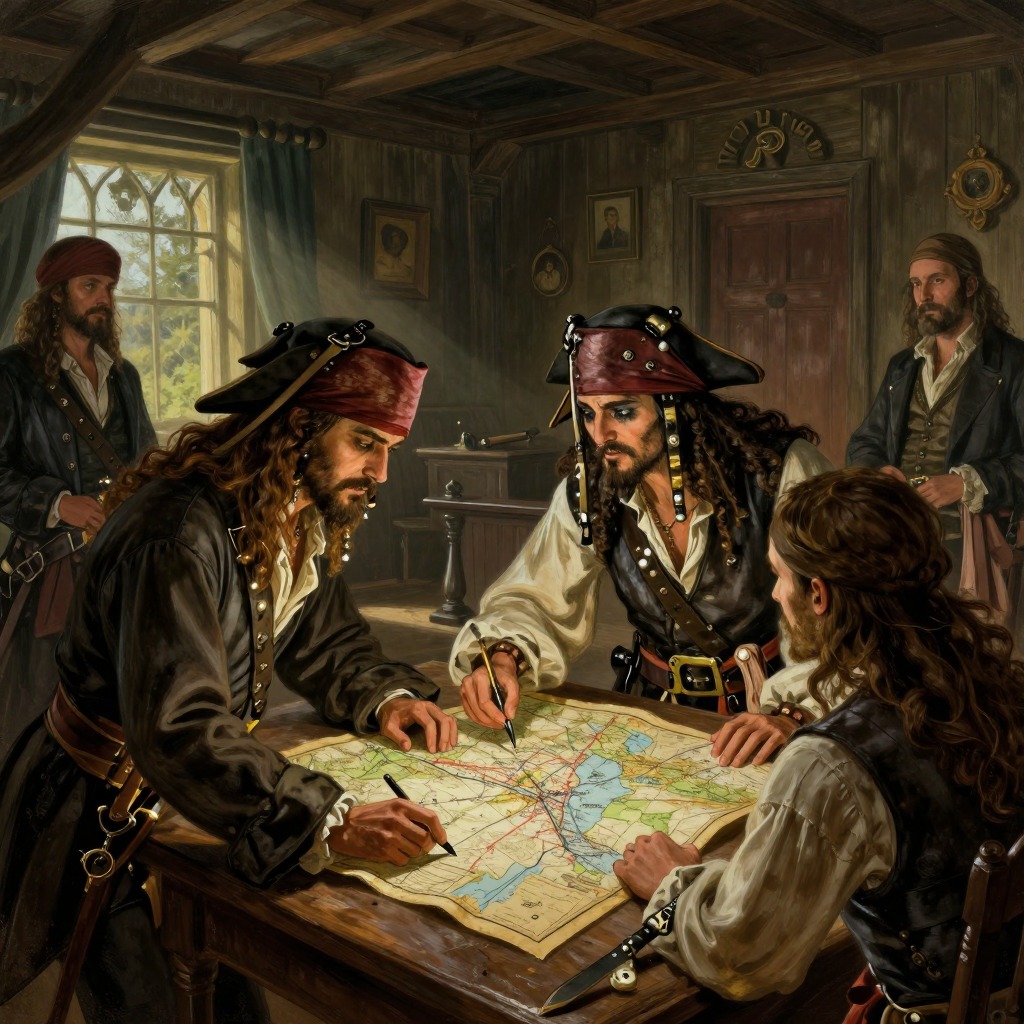
Once the Hispaniola reaches Treasure Island, the map becomes a contested object. Captain Smollett, wary of the crew, has an accurate copy made, omitting the red crosses and written notes. When Long John Silver examines this copy, his eyes burn with disappointment, but he hides his feelings, recognizing that the map is still the key to the treasure. Later, after the mutineers have taken over the stockade, Dr. Livesey performs a masterstroke of deception. He gives the original map to Silver, knowing it is now useless because Ben Gunn has already dug up the treasure and moved it to his cave. The map, once the object of everyone's desire, becomes a decoy. Silver uses it to pacify his rebellious crew, fluttering it in their faces and asking them if they can afford to break the treaty when they are "bound a-treasure-hunting." The map's power to command belief and obedience is so great that it momentarily restores Silver's authority over his men.
The Map's Final Role and Significance
During the treasure hunt itself, the map's instructions prove ambiguous. The red cross is too large to be a precise guide, and the note on the back requires interpretation. The pirates argue over which of the many tall pines is the one Flint meant, and it is only by using the compass bearing from Skeleton Island and the line of a human skeleton — one of Flint's murdered accomplices, laid out as a pointer — that they find the correct tree. When they reach the site, they discover only an empty pit, the treasure already removed. The map, which had promised seven hundred thousand pounds, leads only to disappointment and the ambush that destroys the mutineers. In the end, the map's true value is not as a guide to gold but as a narrative device that propels the characters into adventure, tests their loyalties, and ultimately reveals the futility of greed. It is a document that, for all its precise coordinates and careful bearings, leads not to a fortune but to a grave.