
The Final Clues and Their Meaning
CurtainObjects and details scattered through the story become a delayed map to Poirot's disguise, Norton's identity, and the truth of the locked-room death.
increasing Bearing strength in each event
 decreasing
Bearing strength in each eventdecreasingTwo Plays in the Box
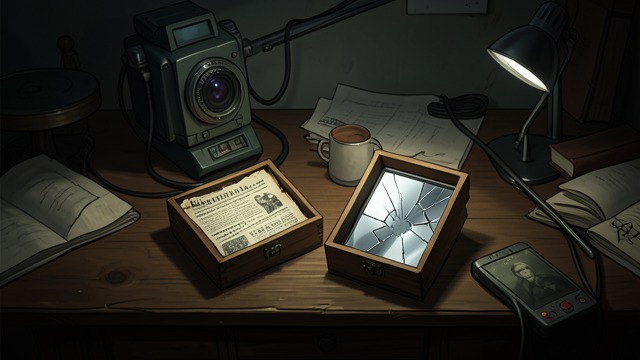
A Puzzle Left Behind
The Missing Valet's Account
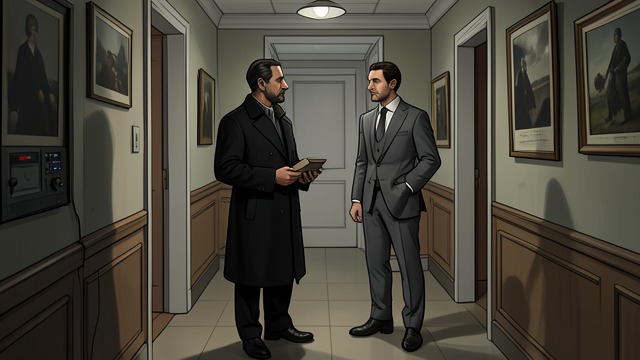
Georges Corrects the Story
An arranged departure
Georges tells Hastings that Poirot sent him away, rather than simply allowing him to return to his family. Poirot had also arranged to pay him while he was gone.
A second falsehood
Georges adds that Poirot wore a wig, not dyed hair. The apparently trivial correction makes Hastings reconsider the familiar image of his friend and the possibility of disguise.
The Key and the Height
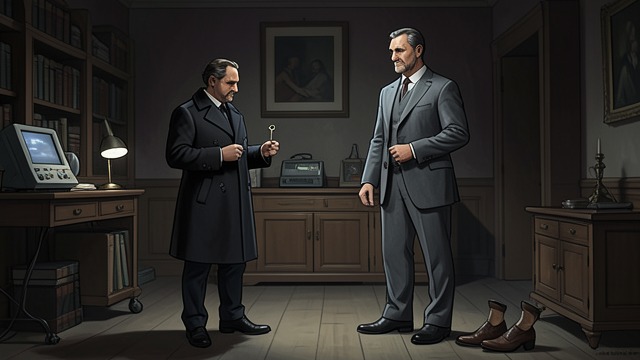
Details of Access and Appearance
A duplicate key
Poirot had mentioned that his key disappeared and a replacement was made. That gives him a way to leave Norton's room looking locked from the inside.
A smaller man overlooked
Poirot was shorter than the other guests and could increase his apparent height with raised shoes. The disguise turns the hallway figure Hastings trusted into evidence of impersonation.
The Dressing Gown
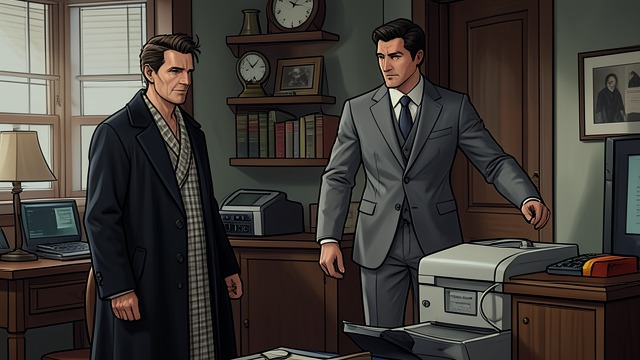
Clothing as False Identification
The witness's certainty
Hastings identified Norton by the checked dressing gown, raised hair, and a slight limp, not by a clear view of his face. Poirot had asked whether Hastings was sure, while pretending only to criticize his reasoning.
A deliberate substitute
Poirot wore Norton's clothes and imitated his movement. The scene depended less on perfect disguise than on a witness ready to confirm what he expected to see.
The Centered Wound
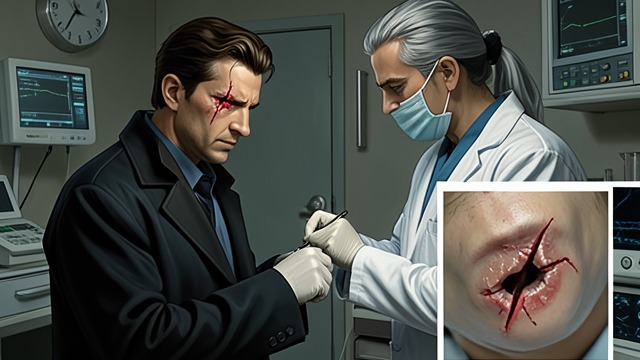
The Mark That Should Have Told Him
A strange symmetry
Norton's bullet wound lies at the exact center of his forehead. The surgeon remarks that such a shot is unusual for suicide, and Hastings later recognizes the image as a clue.
The detective's signature
Poirot admits he could not bring himself to shoot an asymmetrical wound through the temple. The precise mark becomes both evidence against the suicide verdict and a symbolic trace of the killer's identity.
After Hastings opens Poirot's dispatch box
Four months after Poirot's death, in Eastbourne
While Hastings rereads Poirot's final account
When Hastings recalls the night of Norton's death
At the final note of Hastings's account
