Bill Kraken
HomunculusBill Kraken is a resourceful but unreliable survivor whose history of theft and drink repeatedly entangles him with the novel’s scientific mysteries. Once associated with Sebastian Owlesby, he becomes a witness to earlier crimes, a target of violence, and an unpredictable contender for a Keeble box. His story turns on the difference between merely possessing the objects everyone wants and deciding, at last, to act for someone beyond himself.
Identity and Background
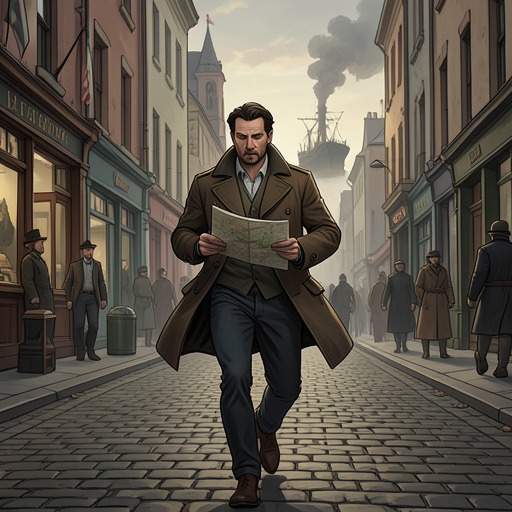
When Langdon St. Ives encounters him again on a rainy London night, Kraken is bent, shabby, and carrying a small pot. He retrieves the cigar St. Ives has thrown away, explaining that he no longer smokes, then identifies himself as the Bill Kraken St. Ives remembers from the Owlesby household. The recognition establishes a connection reaching back roughly fifteen years, to a period before the tragedy that separated Kraken from Sebastian Owlesby. Kraken remembers St. Ives as a much younger man, while his own guarded manner suggests that the intervening years have left him with secrets he does not intend to disclose freely.
Kraken’s confession gives that past a criminal and precarious shape. He recalls driving a wagon during a nocturnal theft of about half a dozen carp from the oceanarium. Sebastian Owlesby cut them up shortly afterward, and the carp were passed to a beggar woman on Old Pye, who sold them at Billingsgate Market. Kraken presents the episode as a crime that at least produced some benefit for the woman who received the fish. But he insists that the carp theft was minor beside other wrongdoing, and that Sebastian was not responsible for the worst of it. His allusion to another man’s cemetery visits and to a fellow accomplice who later died in prison leaves the larger history ominously incomplete; Kraken breaks off rather than explain it.
His working life has been as unstable as his past. He describes himself, across different periods, as a seller of overripe squid, a failed purl seller, a more successful pea-pod seller, and, for a time, a dealer in dog waste for the tanning trade. These occupations sketch a man who has survived by trying whatever marginal trade was available. They also make his later decisions feel less like the actions of a professional criminal with a settled plan than those of a desperate opportunist, vulnerable to drink, pressure, and sudden changes in fortune.
The Box, the Emerald, and Shifting Loyalties
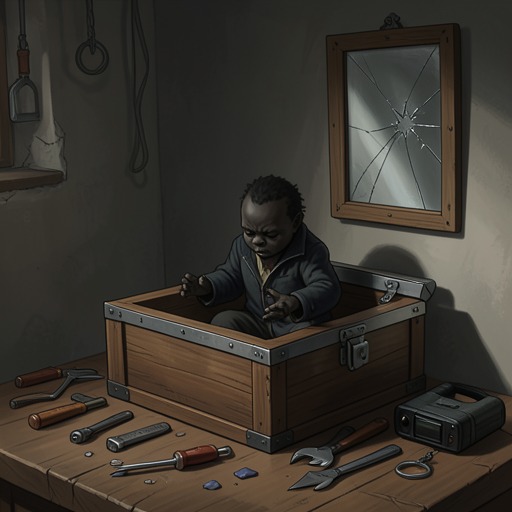
Kraken’s encounters with the Keeble box repeatedly expose his poor judgment. After being assaulted by Billy Deener, he later turns up asleep near Billingsgate Market, holding a pillowcase that conceals the box. Willis Pule recognizes the carved hippo and dancing apes from Dr. Ignacio Narbondo’s sketches and approaches Kraken with brandy. Kraken’s immediate response is not a plan for using the box but a wave of self-pity: he wonders why he stole it and admits, inwardly, that he does not want it. The box has become another burden acquired without a purpose.
Alcohol and a blow to the head further complicate his choices. Kraken tells Pule that the box contains Jack Owlesby’s emerald, an inheritance he has stolen. He attributes the theft to drink and the recent injury, and his account allows Pule to understand that the box is valuable for reasons beyond its scientific mystery. Pule consequently sees an opportunity to take the emerald for himself and to deprive the Owlesbys of it. Kraken’s admission, made while relying on Pule’s hospitality, helps create the danger that will surround the box and the people connected to it.
Kraken later describes the moral cost of these exchanges with unusual clarity. In the last forty-eight hours, he says, he has betrayed everyone who befriended him and received nothing in return—not even money. Drink is his explanation, but not a complete escape from responsibility: he recognizes that his actions have sold out his allies. That shame is especially important because he has begun with a desire, however confused, to recover the standing he has lost with Captain Powers and Jack Owlesby. His repeated acquisition and surrender of the box turn loyalty into something tested materially, through possession, theft, and the willingness to risk himself.
Fear, Flight, and Recovery
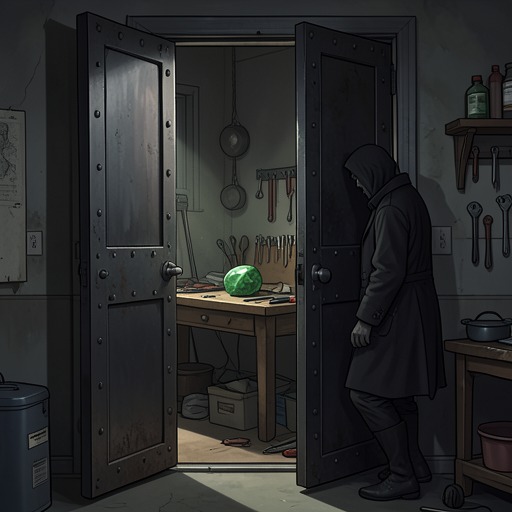
During a later return to Dr. Narbondo’s laboratory, Kraken finds the Keeble box on a piano and intends to take it without confronting anyone. He wedges a chair beneath the door latch and discovers the remains of Joanna Southcote nearby. Their movement frightens him, and he drinks gin before attempting to escape. When Willis Pule tries to force the door, Kraken finds a concealed panel in the wainscot and slips into the passage behind it. He hears the struggle and gunfire in the laboratory but avoids being trapped in the room. The episode shows both his fear and his practical resourcefulness: he does not overcome the danger by force, but by noticing and using a hidden route.
The escape carries him into the wider disturbance caused by the reanimated dead. When ghouls spill through the building, Langdon St. Ives remembers Kraken may still be inside and abandons the effort to shut the creatures in. Kraken emerges among them, carrying a Keeble box, and disappears into the street. His flight leaves the box in the hands of the fleeing crowd and adds to the confusion of the night, but it also confirms that he has survived a confrontation that left others trapped or incapacitated.
Kraken eventually arrives at Captain Powers’ Pipe and Tobacco Shop in such a weakened state that he collapses at the door. Captain Powers, St. Ives, and Theophilus Godall help him recover; brandy revives him, and his clothes are cleaned and discarded. He explains that seeing the animated dead had broken through a period of brain fever and disorientation. He traces the beginning of that confused state to the attack that injured him, describing a later blow from a falling mug at the George and Pigmy in Soho as the moment he felt himself wake from it. In his account, drink did not cure the problem, and sobriety could make it worse; the shock of encountering the dead instead reversed his condition. This is Kraken’s own explanation of his recovery, offered as he returns to a more coherent account of events.
That account also supplies a clue about the box. Nell Owlesby has just described once believing, during a fever in Jamaica, that the emerald spoke to her and named Shiloh the New Messiah. Kraken says he too heard the box speak, on the preceding Thursday night, and insists that he was not then suffering from the horrors. St. Ives takes the testimony as new information that changes how the group understands the box, though Kraken’s report does not establish what produced the voice. The episode reconnects his scattered experiences to the central mystery and makes his unreliable-seeming testimony consequential.
Final Actions and Narrative Role
Kraken’s final decisive act comes amid the gathering around Birdlip’s dirigible on Hampstead Heath. Seeing Theophilus Godall carrying the Marseilles Pinkle, Kraken realizes that the moment has arrived for him to act. He runs into Kelso Drake, strikes him, and takes the Keeble box from him. Kraken’s cry of Here’s for Ashbless refers to Billy Deener’s earlier bullet hole in his treasured volume, linking the present blow to an accumulated history of humiliation and loss. The gesture is impulsive, but unlike his earlier thefts it is directed against Drake, who has held the box, and it is undertaken in the middle of a public crisis rather than for an easy private gain.
As the crowd surges toward the arriving dirigible and its fourth box, Kraken tries to reach Captain Powers and William Keeble. The crush of people cuts off his view; he stumbles, is knocked down, and ends up lying on top of the Keeble box. The narrative leaves him there, amid the press of the crowd, without resolving what happens to him afterward. The ending preserves his characteristic mixture of luck and disorder: even his attempt to rejoin his allies is overtaken by the crowd and by the box that has shaped so much of his recent life.
Kraken’s importance lies partly in the contrast between the grand claims surrounding scientific and religious power and the compromised, improvised actions of a man at the edge of respectability. He is neither a reliable guide nor merely a comic thief. His confessions reveal pieces of the older criminal history; his fear and escape carry him through the laboratory crisis; and his recovery makes him a witness to information others need. The boxes pass repeatedly through his hands, but their significance does not make him their master. His most meaningful change is narrower: after admitting that he has betrayed his friends for nothing, he finally risks a direct confrontation to recover the box from Drake and move back toward the people he has wronged.